Follower Arm 3D Visualization Control
After selecting an Alicia-D or Alicia-M follower arm device, you enter the single-arm control workspace. Without writing any code, you can complete joint control, Cartesian-space IK operations, and trajectory planning through the graphical interface, driving the physical robotic arm in real time. The left navigation includes:
- Dashboard
- Visualization Control
- Firmware Management
- Device Settings
Dashboard
The dashboard is used to view device status and perform common control:
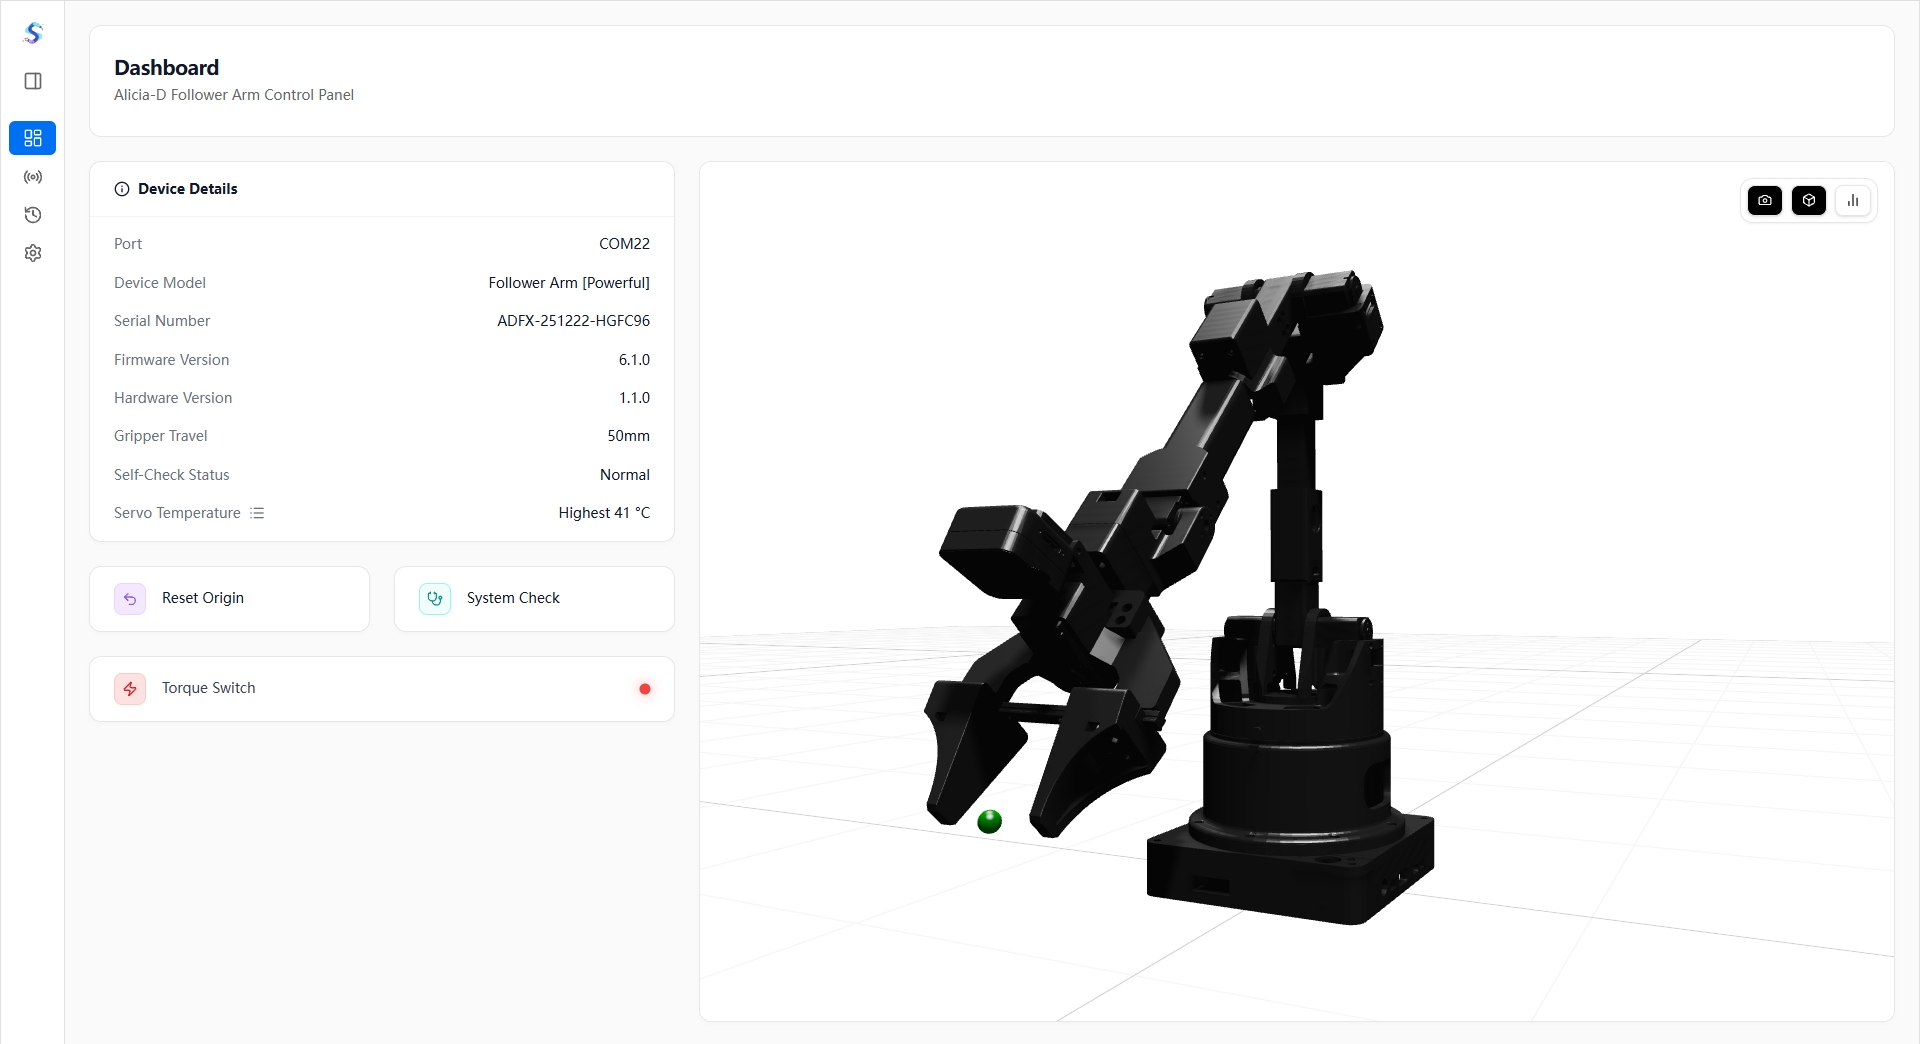
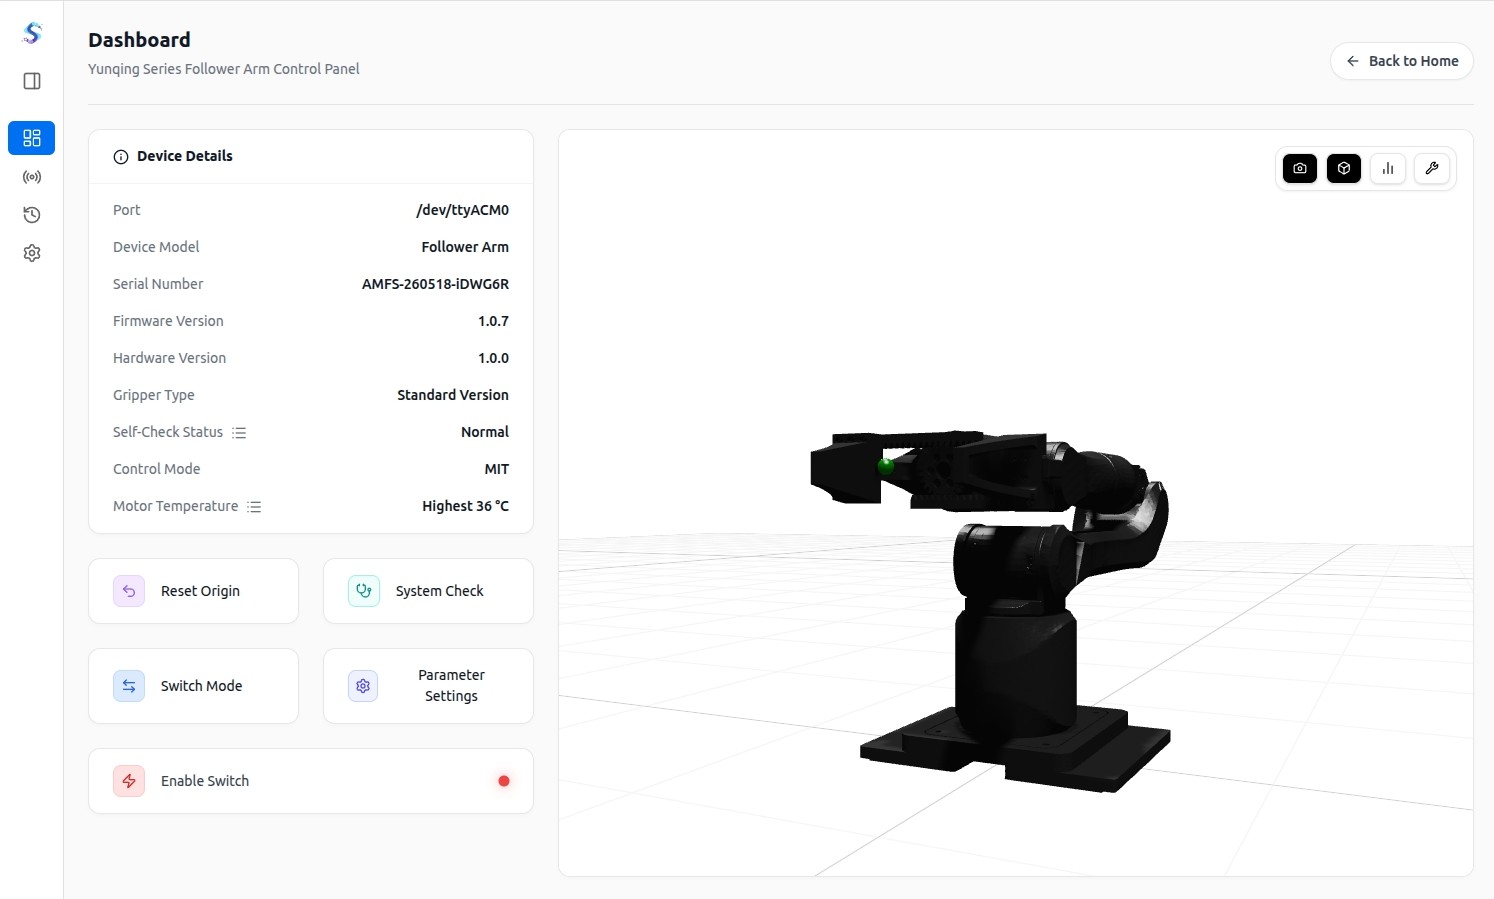
- Displays connection status, device model, serial number, firmware version, hardware version, gripper information, and self-check status.
- Supports connecting / disconnecting the device.
- Supports resetting to the origin.
- Supports system self-check.
- Supports viewing joint temperature / motor temperature, with protection tips when the temperature is too high.
- The right side integrates a 3D spatial status component that displays pose and joint data in real time.
The control items vary slightly depending on the device model:
- Alicia-D: Provides a torque switch.
- Alicia-M: Provides an enable switch, mode switching, and parameter settings.
Visualization Control (SparkVis)
This page is used for 3D visualization and interactive control of the robotic arm. The current interface includes:
- Real-time display of end-effector position and pose.
- World / local coordinate system indication.
- 3D model display and interaction.
- Toggling of grid, axes, and perspective mode.
- An example code popup, where code snippets can be copied.
The control area on the right contains three tabs:
Joint Control
- Adjust the angle of each joint.
- Adjust the gripper opening and closing.
- Supports linked control via sliders and input fields.
Cartesian Space
- Enable / disable IK control.
- Switch between translation / rotation mode.
- Switch between world / local reference frame.
- Control the end-effector and gripper.
- Supports keyboard shortcuts for assisted operation.
Trajectory Planning
- Add waypoints.
- Set dwell time.
- Generate a trajectory.
- Execute, pause, and stop the trajectory.
- Import / export trajectories.
- Supports extended parameters such as looped execution.
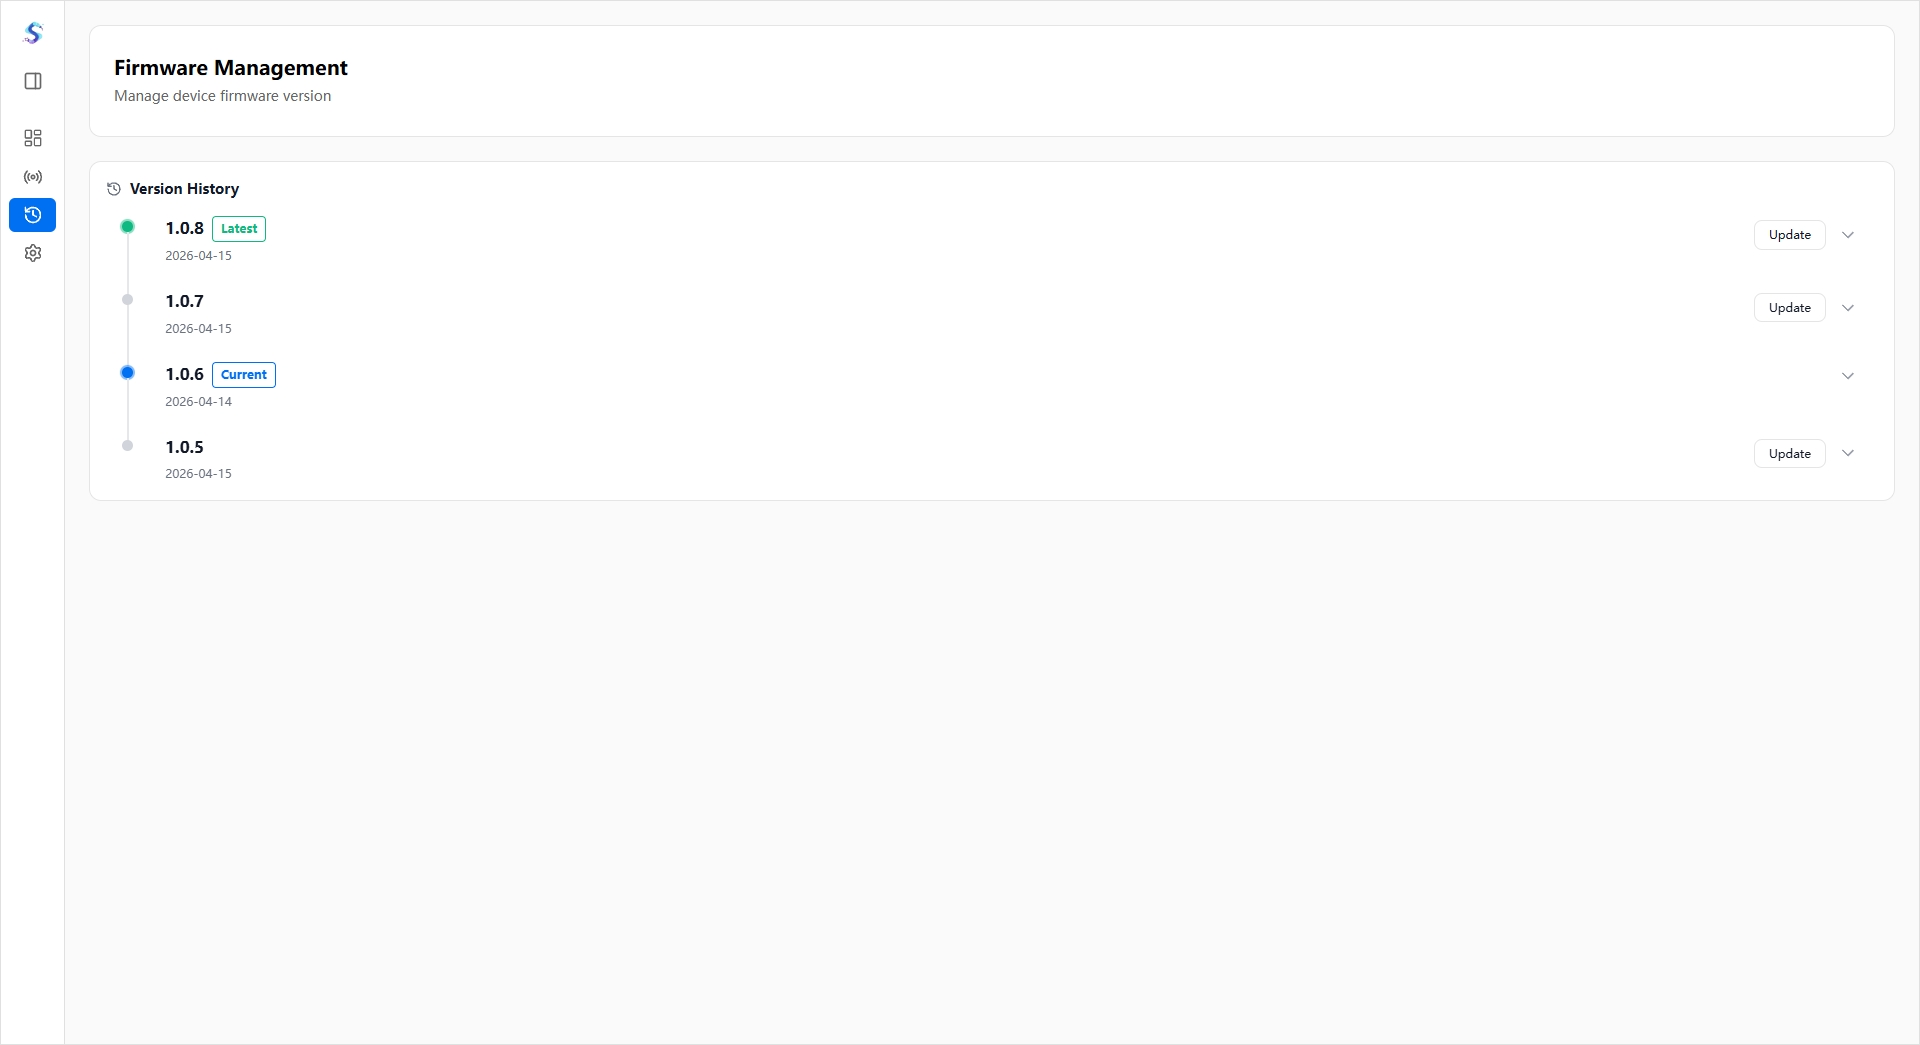
Firmware Management
The firmware management page for robotic arm devices:
- View the current firmware version.
- Check whether an update is available.
- View version history and changelog.
- Perform firmware upgrade.
- Perform version rollback in supported scenarios.
Do not disconnect the device during the flashing process; the device may restart automatically when complete.
Device Settings
The device settings page is used to configure device preferences and operating parameters:
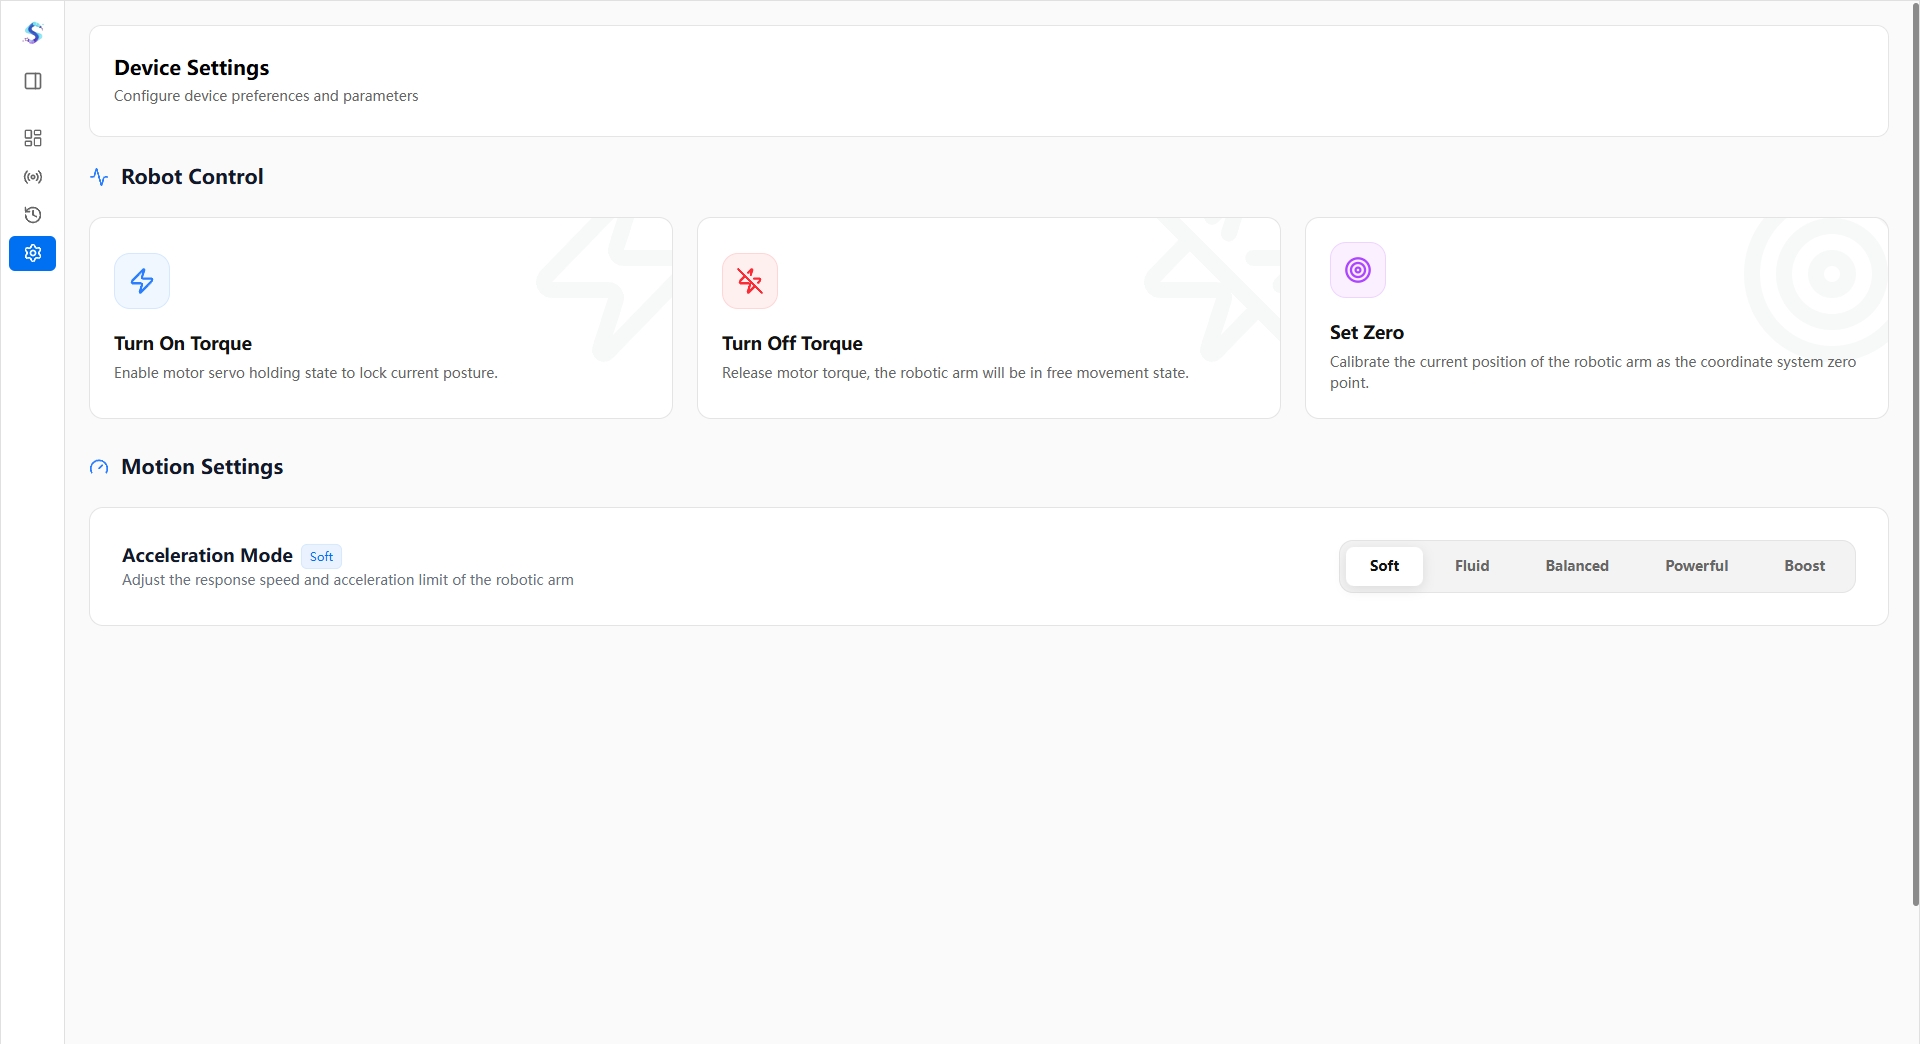
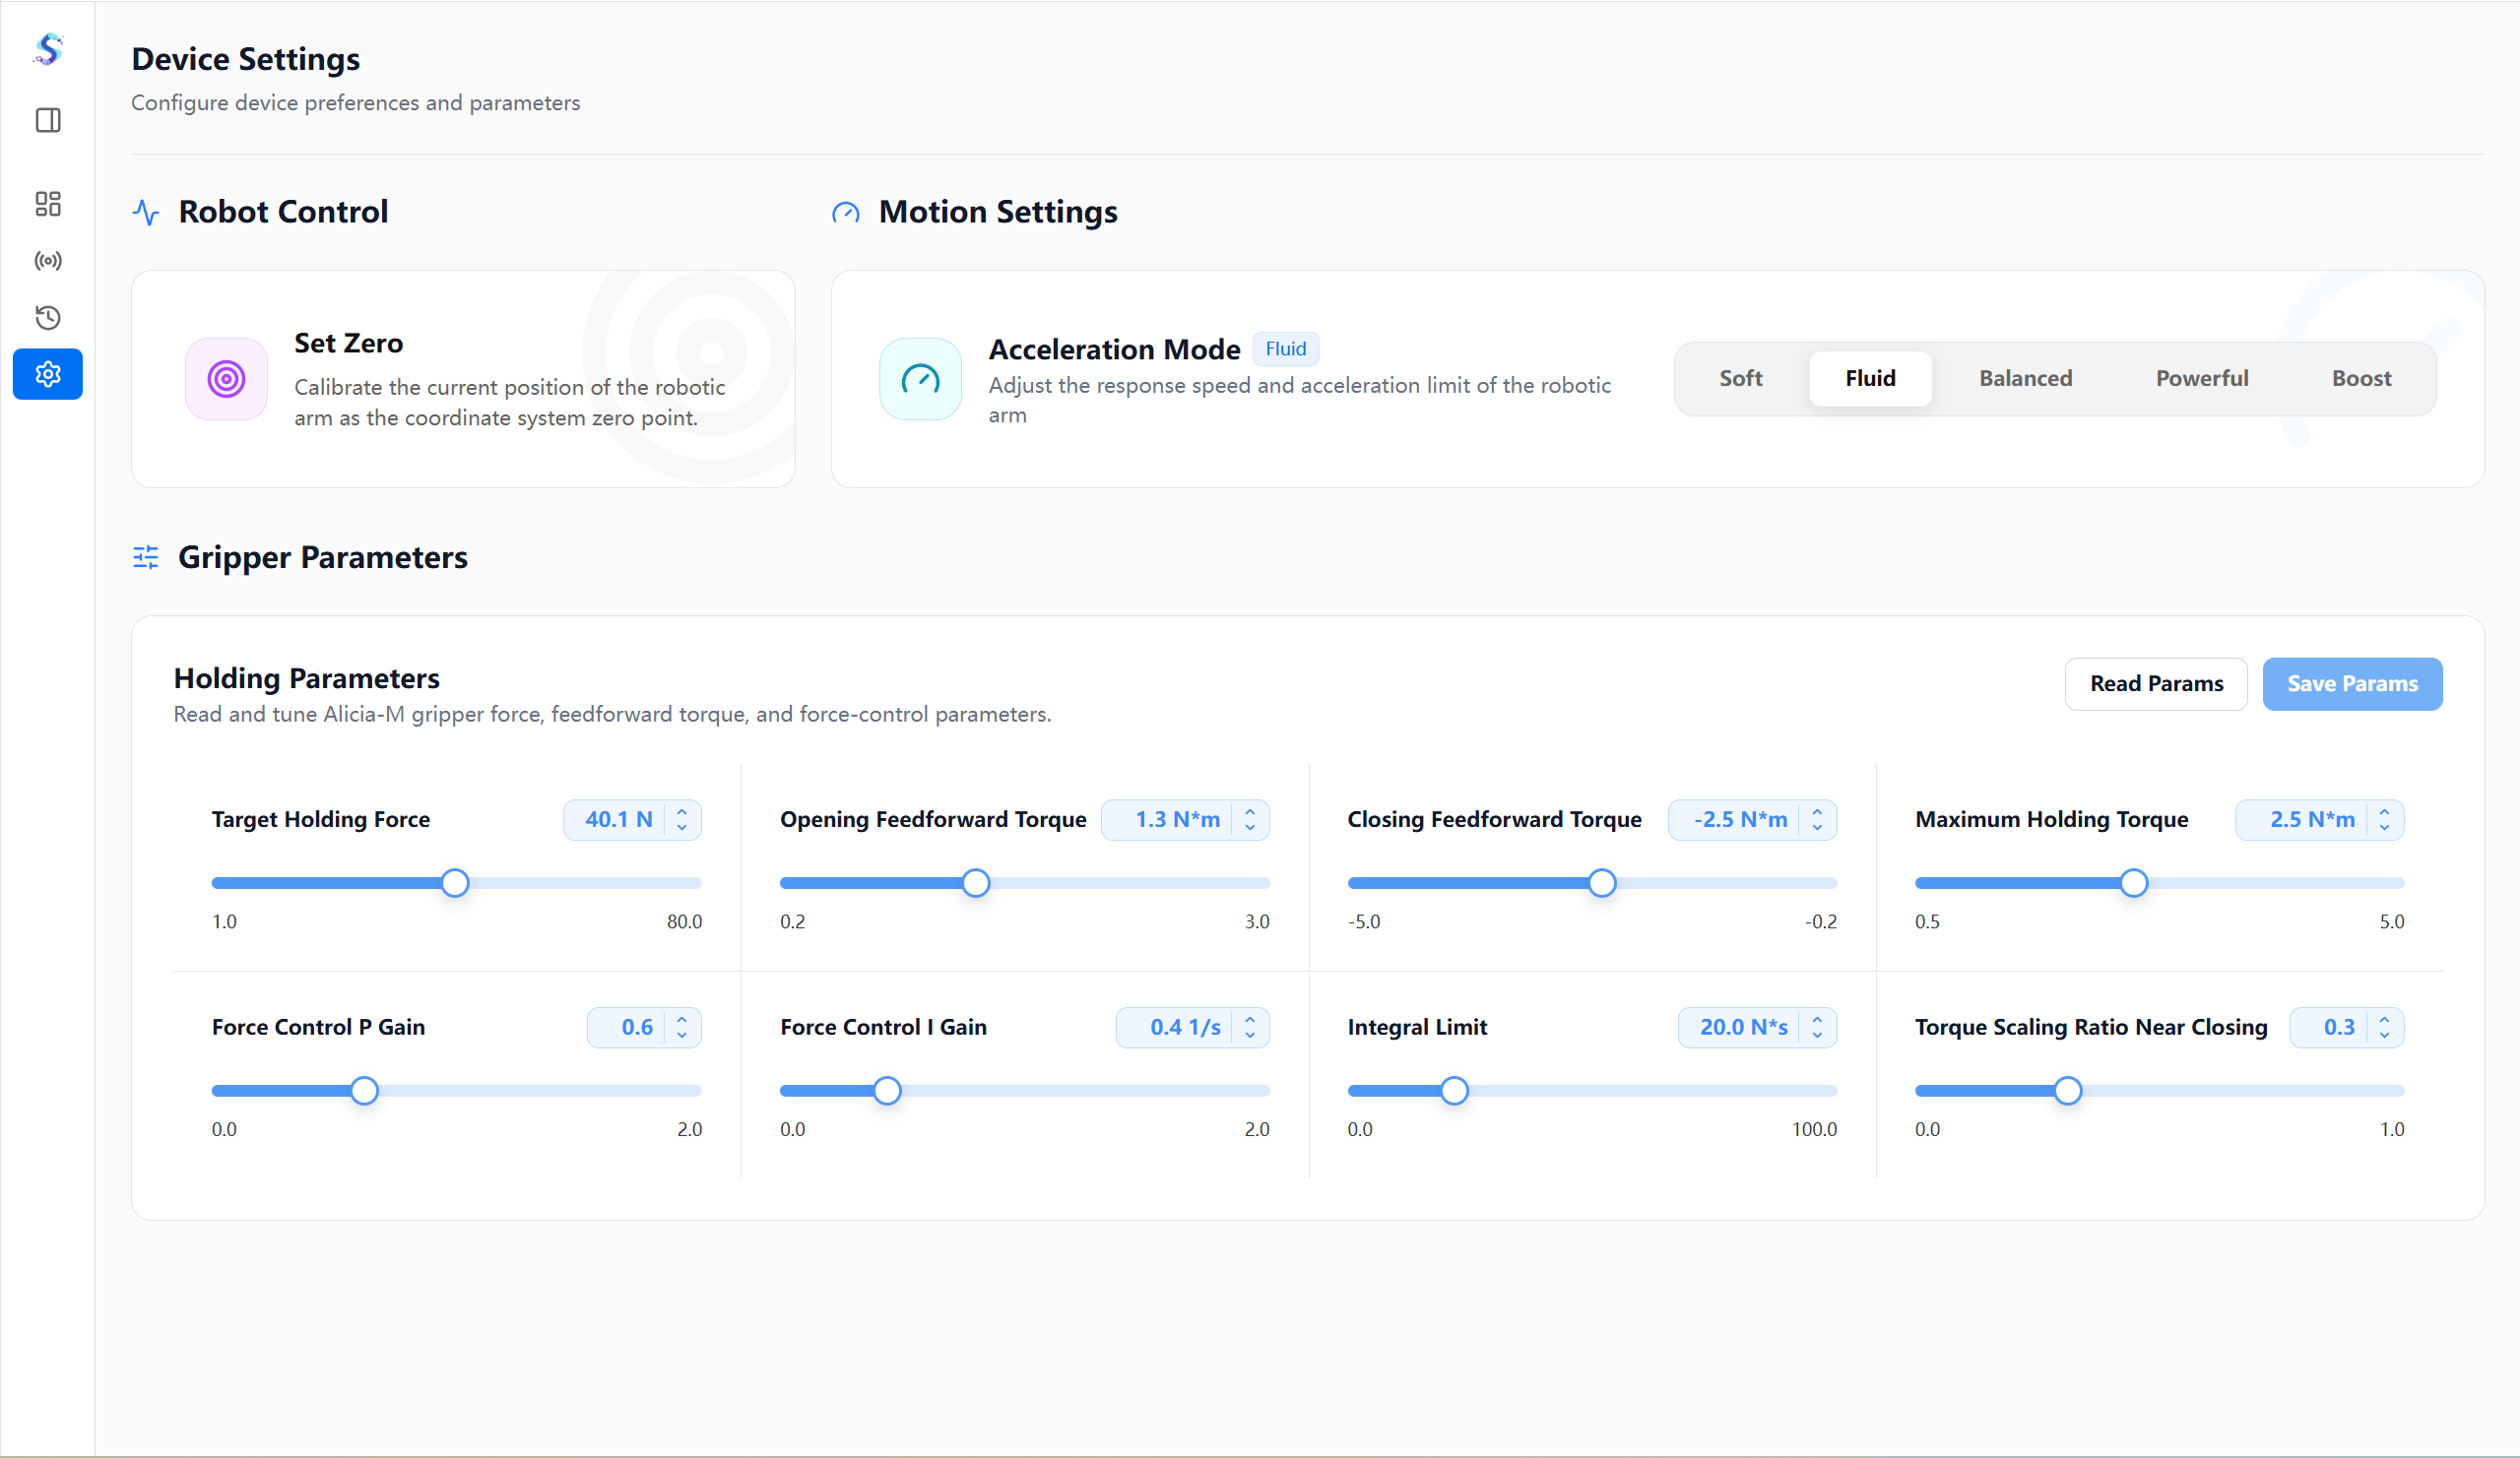
- Supports robot control, where you can set the zero point to calibrate the robotic arm's current position as the coordinate system zero point.
- Supports motion settings, where you can switch between different acceleration / response modes, including Smooth, Fluid, Balanced, Powerful, and Extreme Speed levels.
The settings items vary slightly depending on the device model:
- Alicia-D: In robot control, you can turn torque on and off.
- Alicia-M: Supports gripper parameter configuration, where you can read / modify and save the target gripping force, opening/closing feedforward torque, maximum holding torque, force control proportional/integral, integral clamping, and the torque scaling ratio when approaching closure.