Using the Alicia-D Desktop Application
Synria Desk is the recommended desktop application for the Alicia-D series. It can be used for device onboarding, single-arm control, Alicia-DL leader-arm configuration, dual-arm teleoperation, URDF visualization, firmware management, and device parameter settings. This article organizes the entry points along the actual Alicia-D usage path; for the complete feature documentation, see Synria Desk Desktop Application.
Feature Overview
| Use Case | Applicable Device | Main Functions |
|---|---|---|
| Device onboarding | Alicia-D / Alicia-DL | Scan devices, view device list, enter the control workspace |
| Single-arm control | Alicia-D follower arm | Connect, view status, self-check, reset to origin, torque switch, gripper and joint control |
| Leader-arm control | Alicia-DL leader arm | View status, firmware management, zero-point setup, angle mapping |
| Remote teleoperation | Alicia-D + Alicia-DL | Create a session on the leader-arm side, join the session on the follower-arm side, synchronize camera feeds |
| SparkVis visualization | Alicia-D / custom URDF | 3D pose viewing, joint control, Cartesian control, trajectory planning |
Download, Installation, and Device Onboarding
Please install Synria Desk according to your operating system first. See Download and Installation for the download entry; it supports Windows, macOS, Linux amd64, and Linux arm64. After installation, Linux users can open it from the application menu or run synria-desk from the command line.
After installation, connect the Alicia-D follower arm or the Alicia-DL leader arm to the computer via USB and confirm that the device is powered on. After entering the home page, click "Scan Devices"; the software will list the currently available devices and enter the corresponding workspace based on the device type.
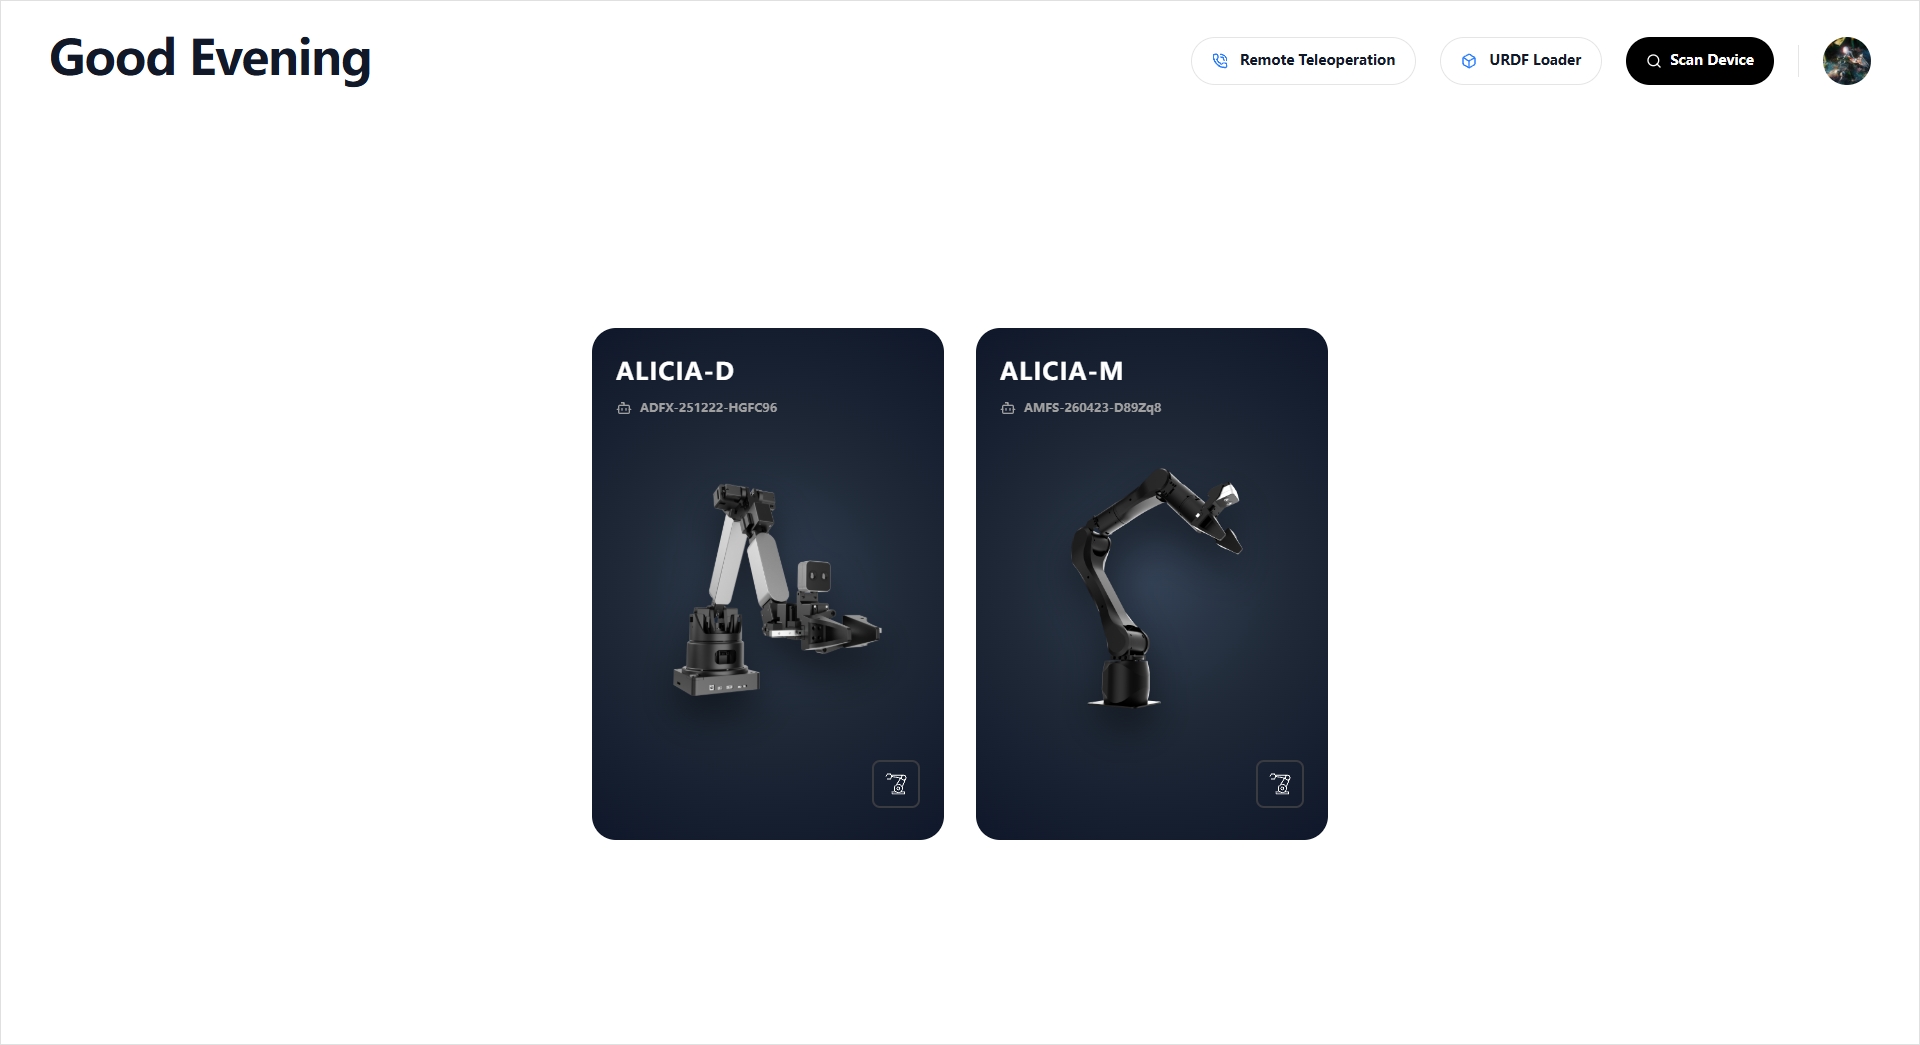
- Alicia-D follower arm: enters the single-arm control workspace.
- Alicia-DL leader arm: enters the leader-arm or dual-arm control workspace.
- For the device entry and home page description, see Home Page and Device Entry.
Alicia-D Follower Arm: Dashboard and Basic Control
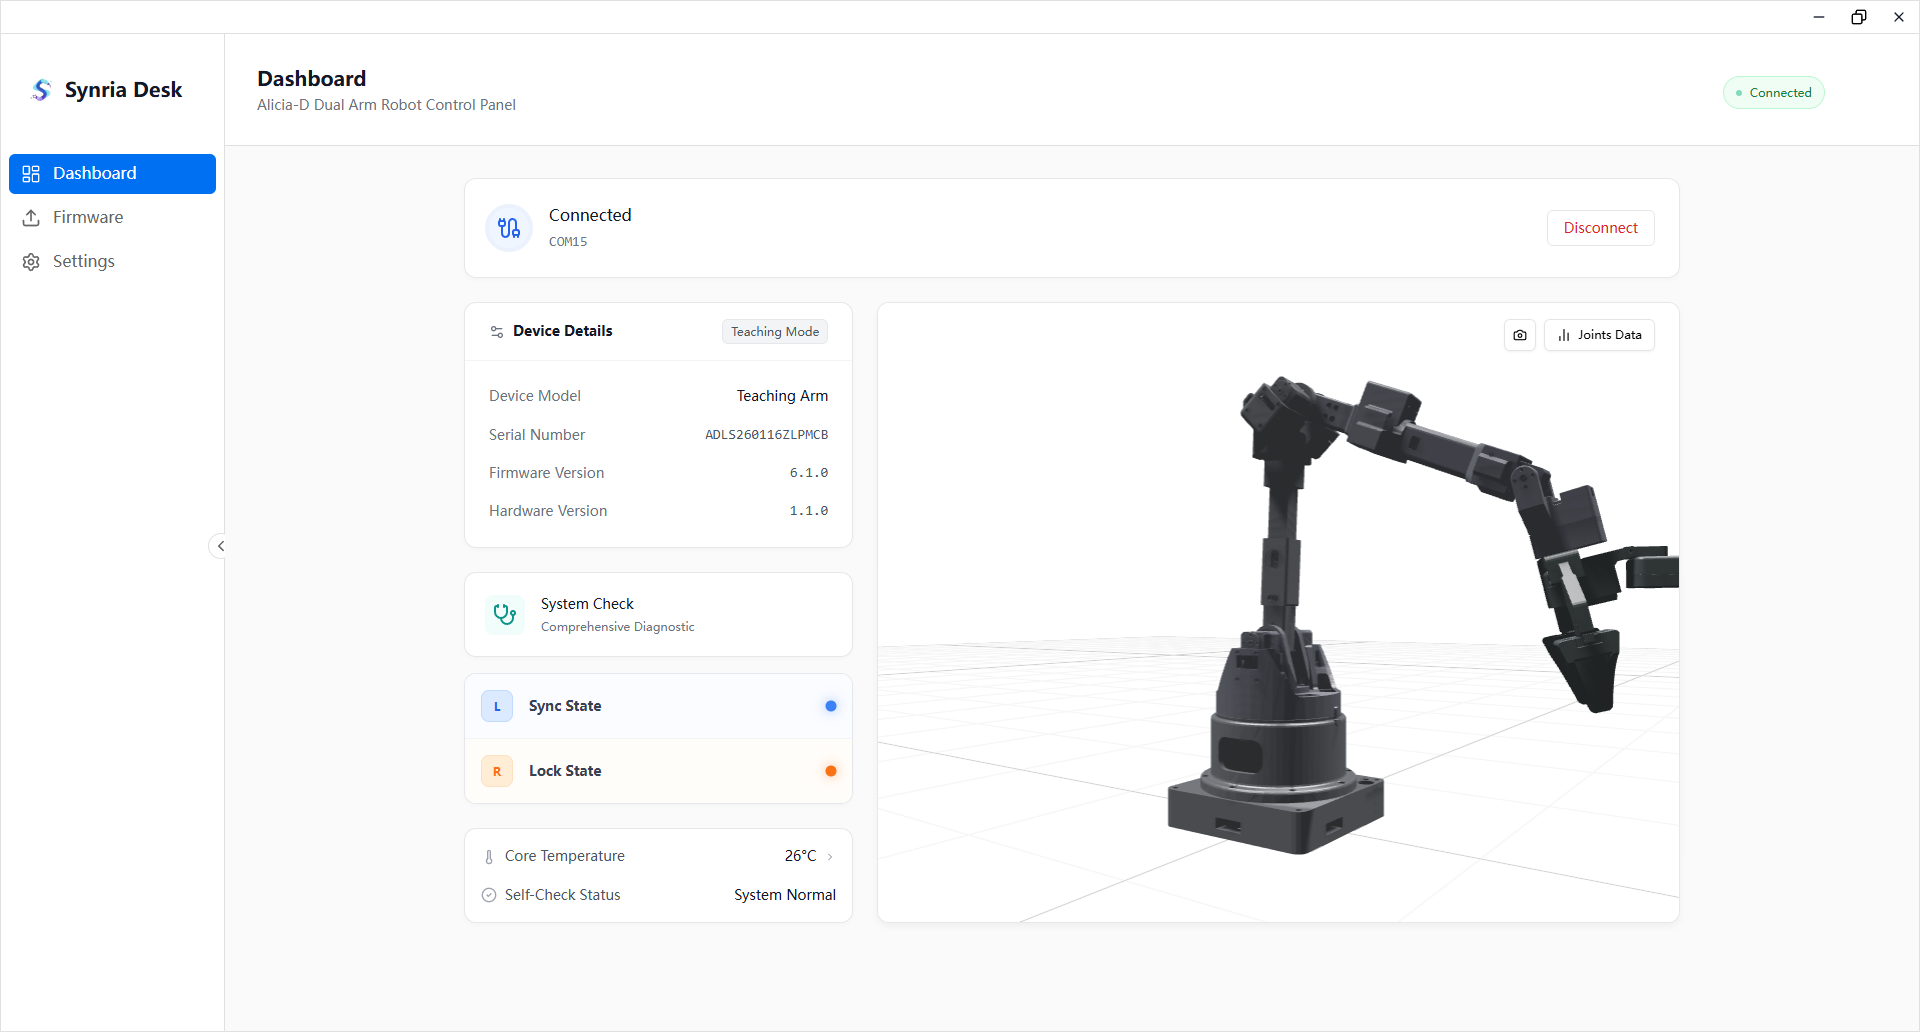
After selecting the Alicia-D follower arm, the dashboard is used to complete connection checks and basic motion verification. This is suitable for onboarding a device for the first time, confirming the firmware version, and checking gripper and joint status.
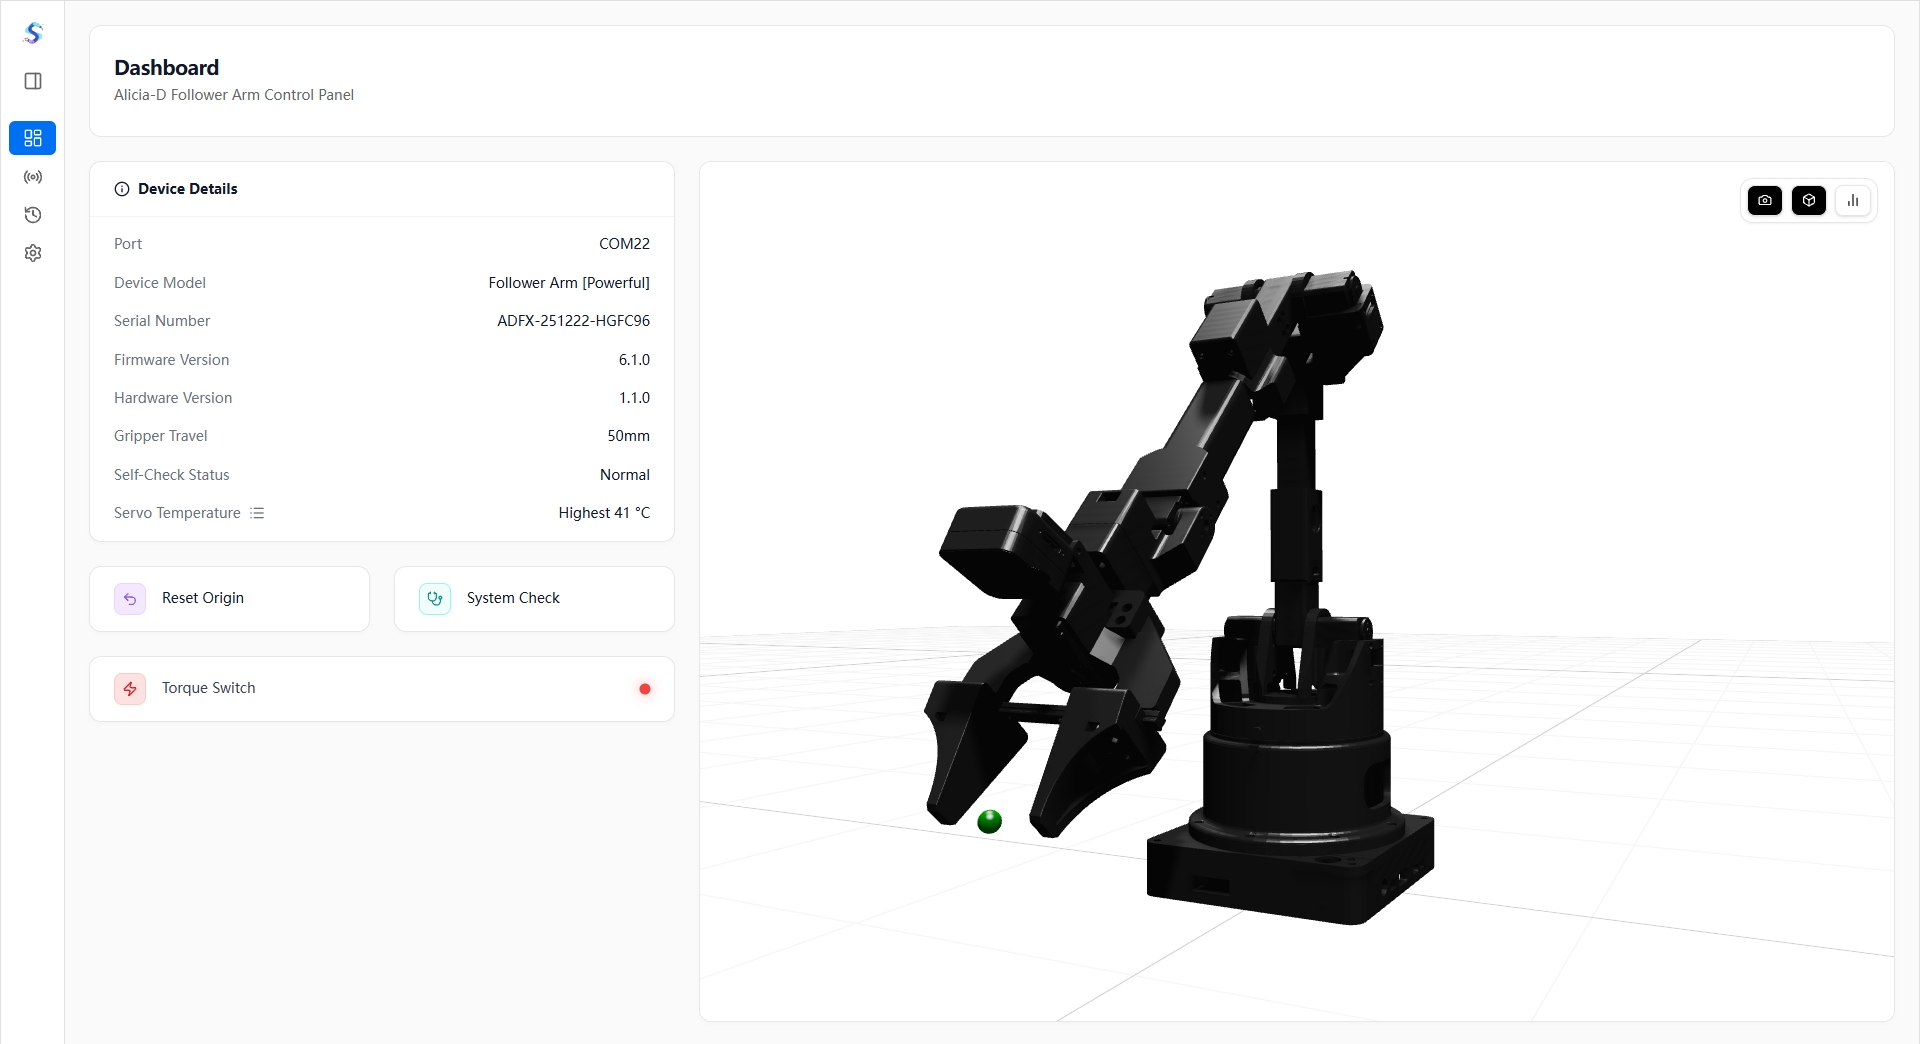
Common operations include:
- View connection status, device model, serial number, firmware version, hardware version, and gripper information.
- Perform connect / disconnect, system self-check, and reset to origin.
- View joint temperature / motor temperature, and handle anomalies according to the prompts.
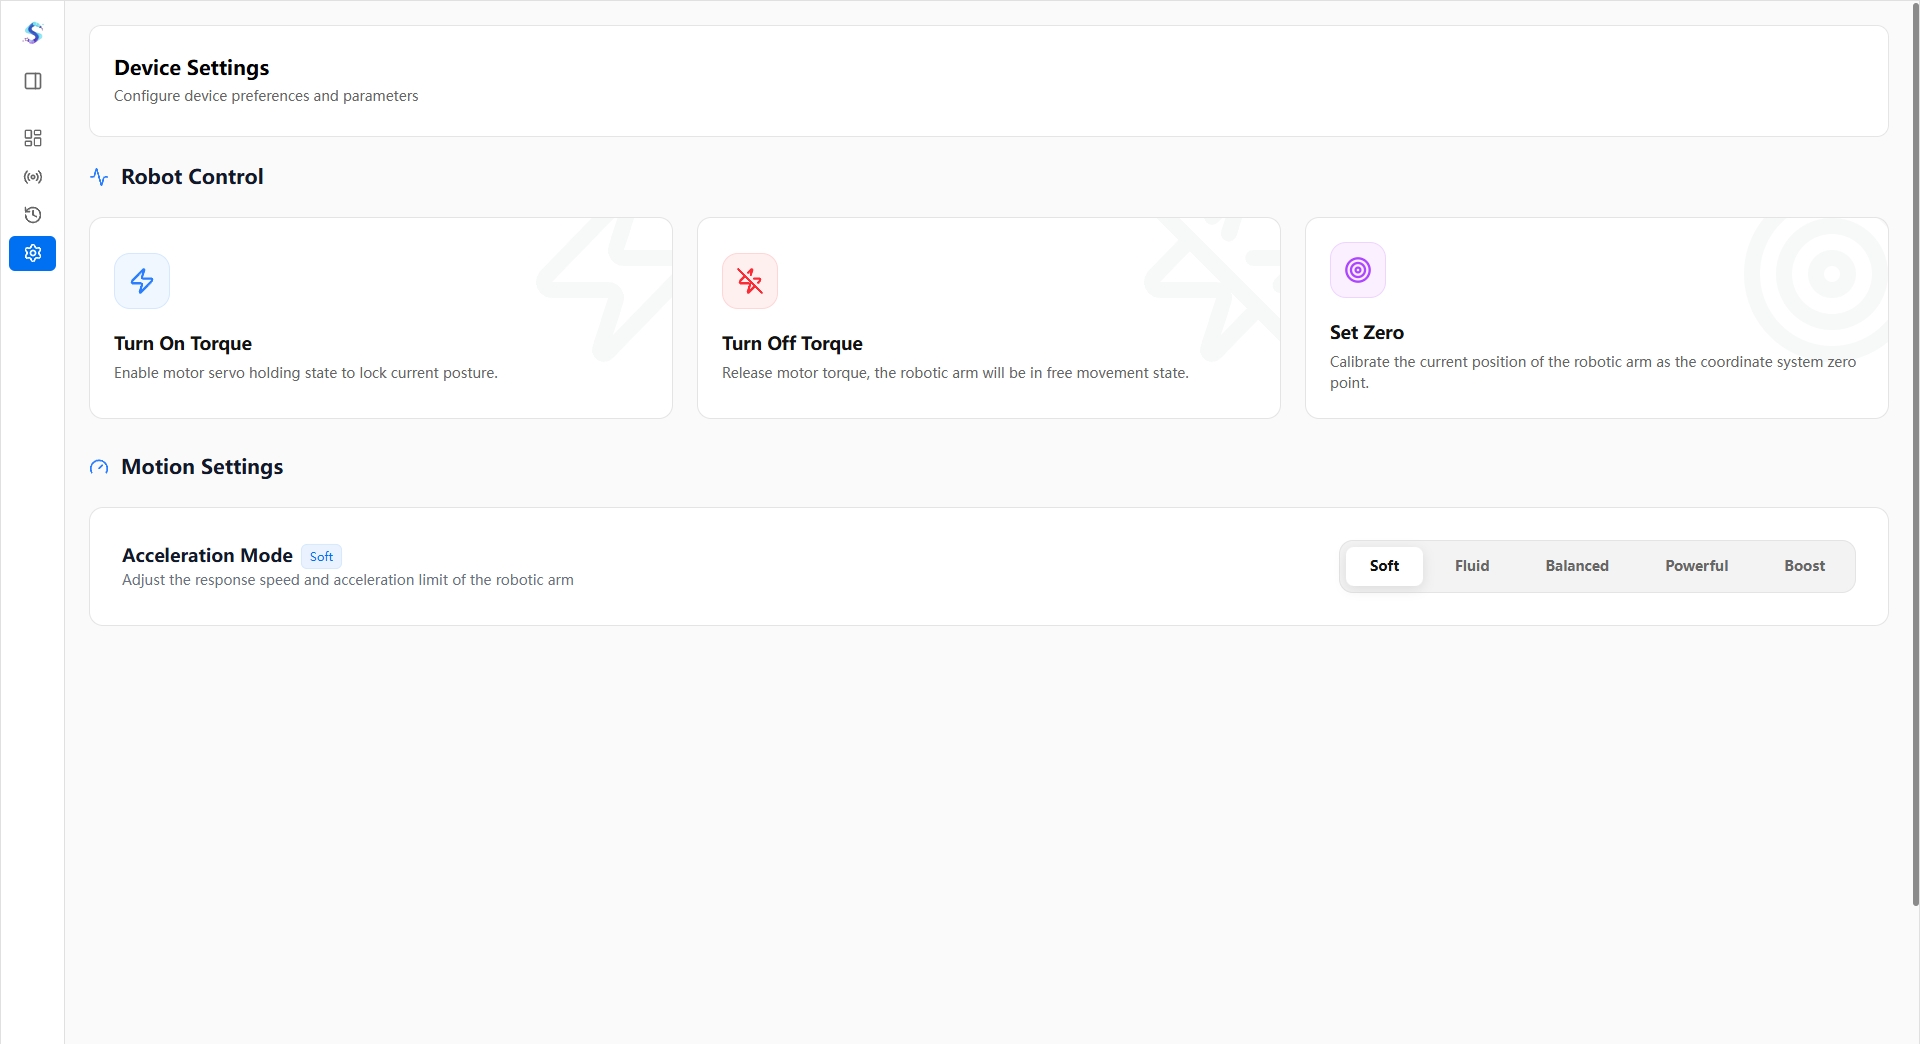
- Control turning the Alicia-D torque on and off, making it easy to perform drag teaching or restore the execution state.
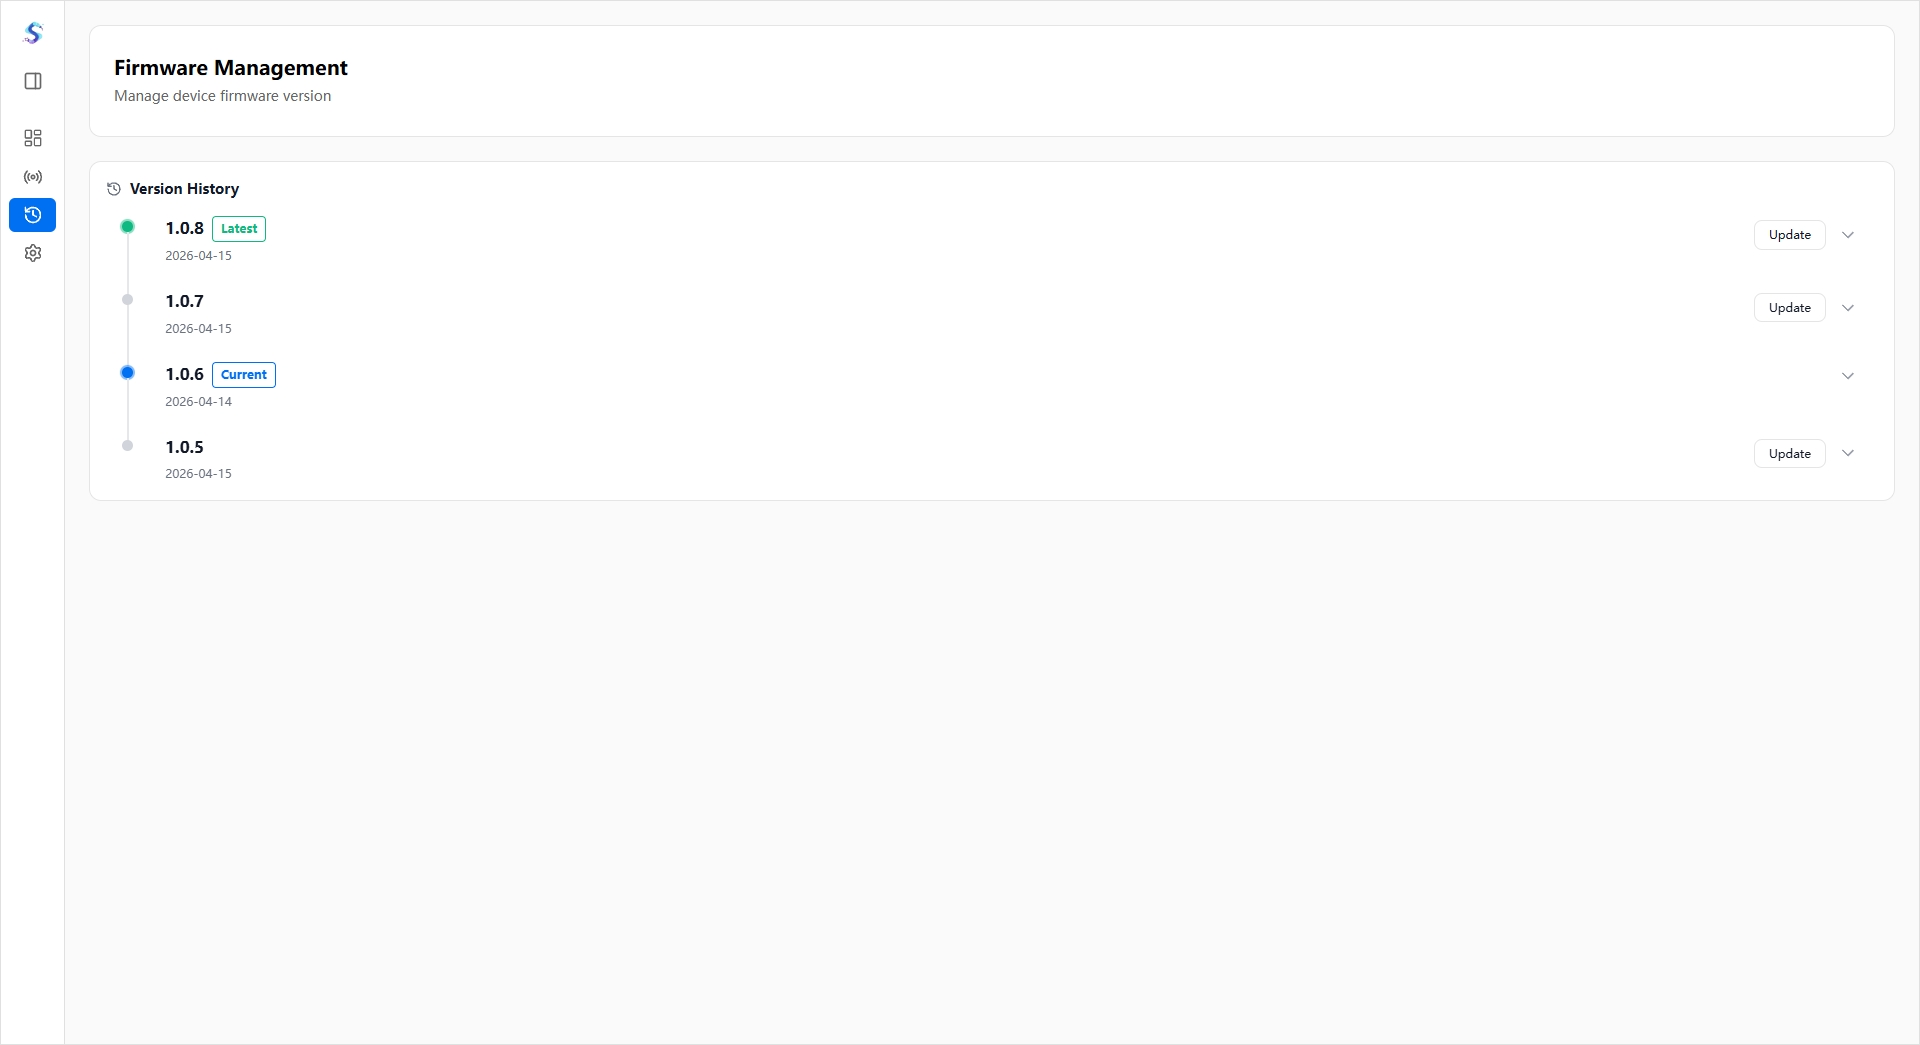
- Enter the firmware management page to check for updates, view version history, and perform upgrades.
For the complete description, see Single-Arm Control.
SparkVis: 3D Visualization and Motion Control
SparkVis is used to view the 3D pose of the robotic arm and to perform joint-space, Cartesian-space, and trajectory-planning control through a graphical interface. It is suitable for verifying the arm's motion range, end-effector pose, and trajectory results before writing SDK programs.
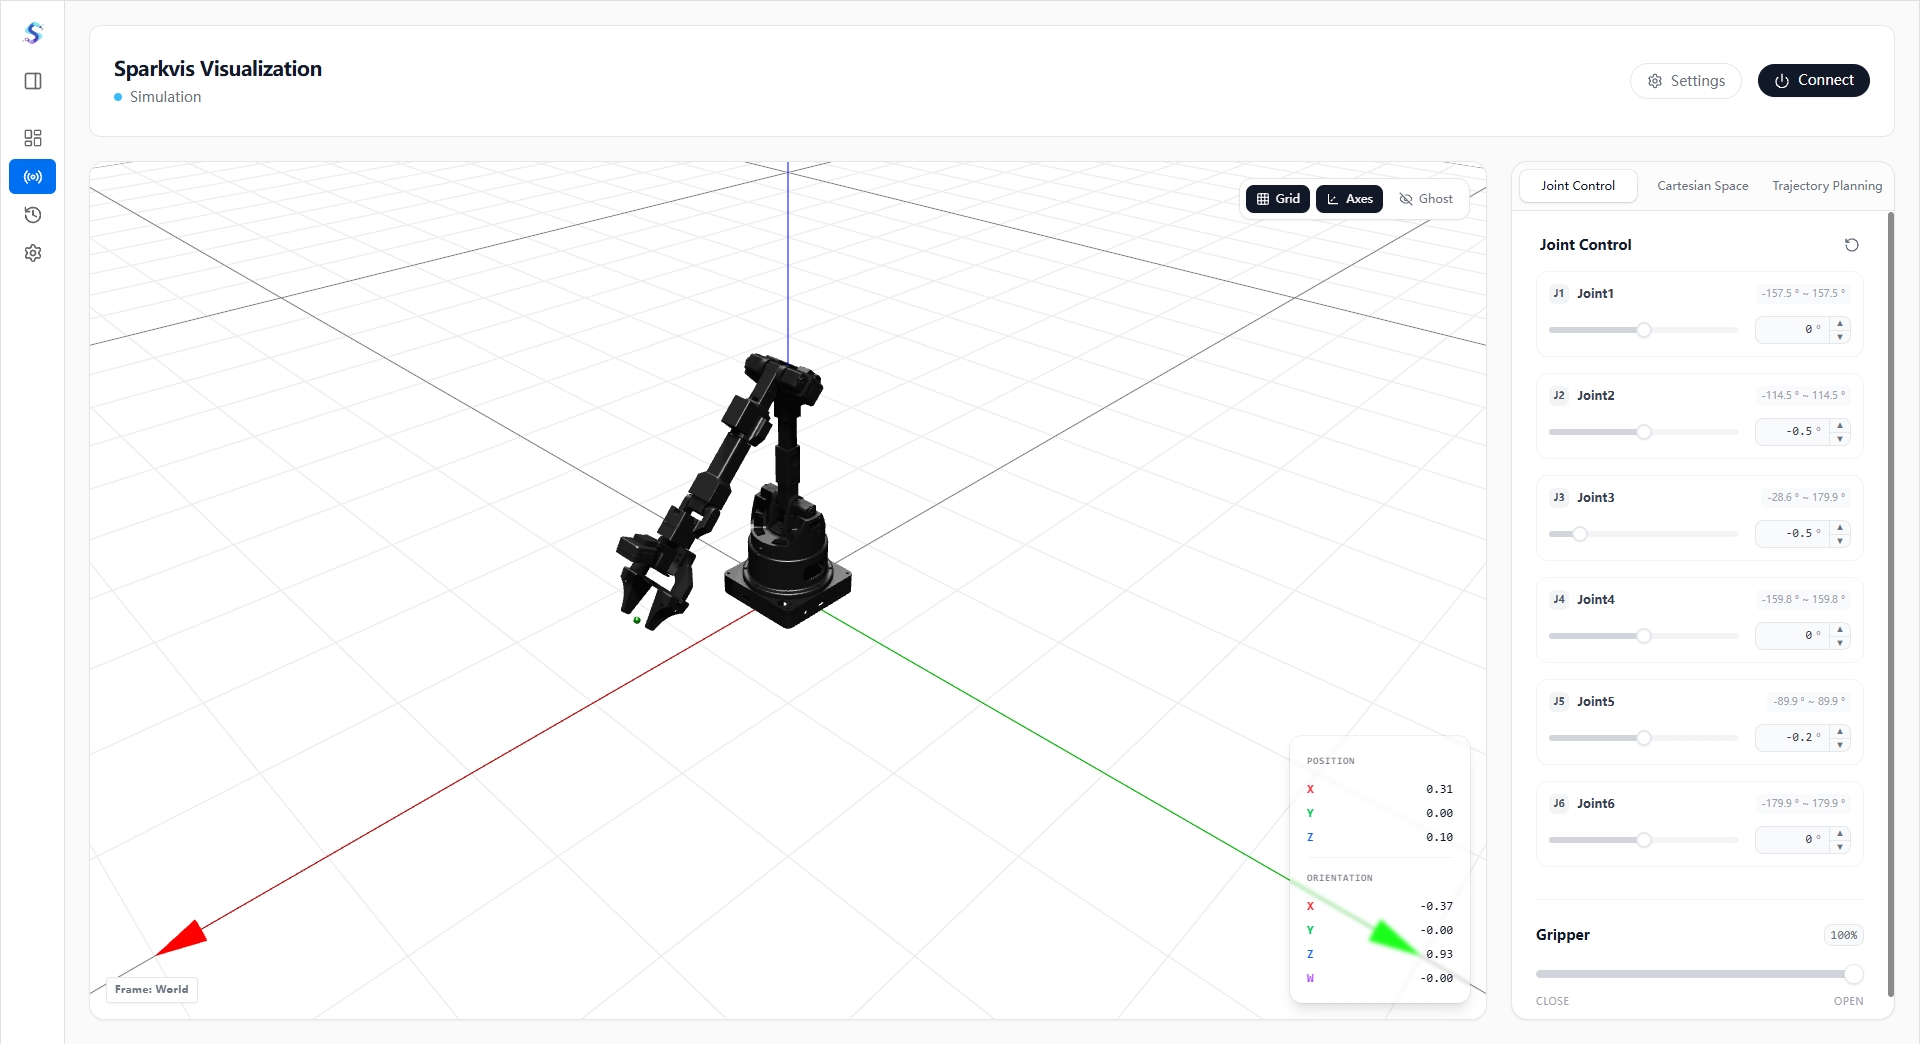
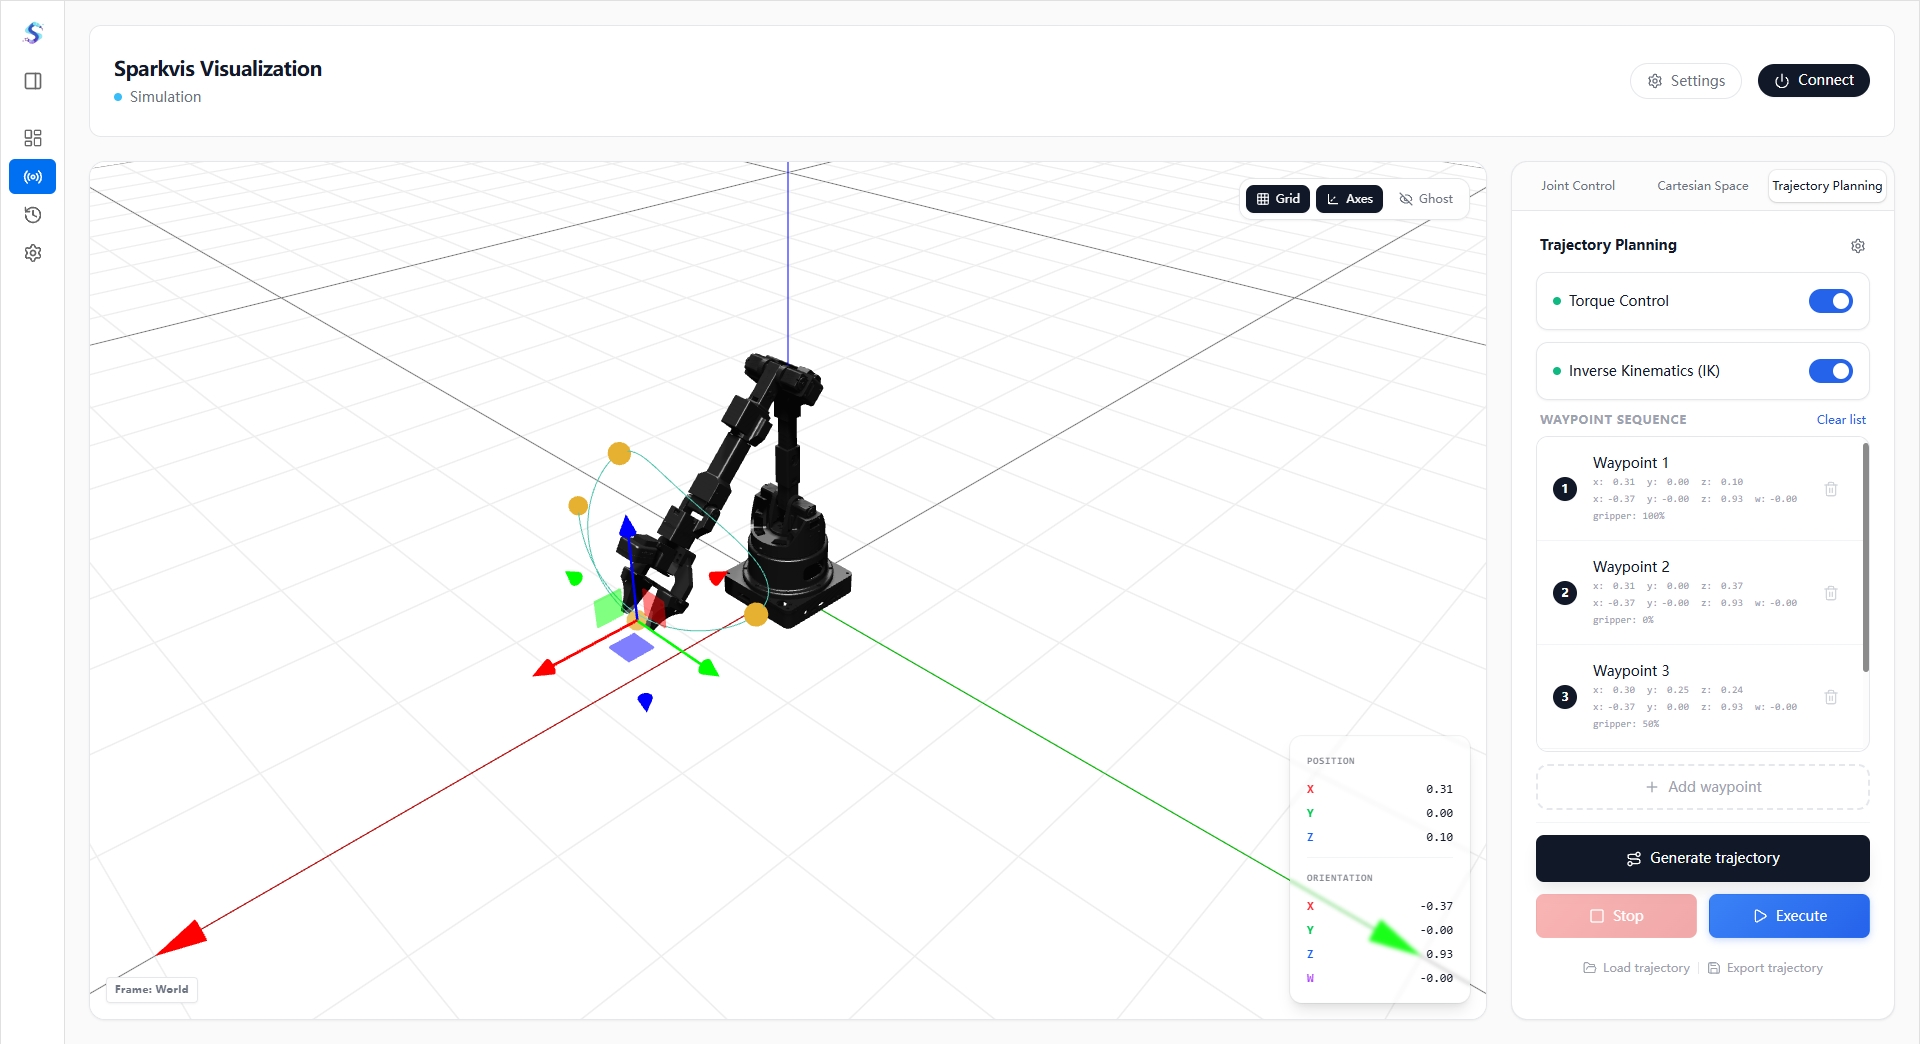
Available capabilities include:
- View the end-effector position, end-effector pose, world / local coordinate frames, and the robotic-arm model.
- Adjust joint angles and gripper opening/closing via sliders or input boxes.
- After enabling IK control, adjust end-effector translation and rotation in Cartesian space.
- Add waypoints, generate trajectories, execute / pause / stop trajectories, and import or export trajectory files.
- Load a preset Alicia-D model or a local
.urdffile for model verification.
For custom models and URDF usage, see Custom URDF and Visualization.
Alicia-DL Leader Arm: Dual-Arm Control and Angle Mapping
After selecting the Alicia-DL leader arm, you can enter the leader-arm control workspace. This workspace is mainly used for status overview, firmware maintenance, device settings, and angle mapping from the leader arm to the follower arm.
The angle-mapping page is used to convert leader-arm joint angles into target follower-arm joint angles. It is the most commonly used configuration page for custom teleoperation and Aloha-configuration onboarding.
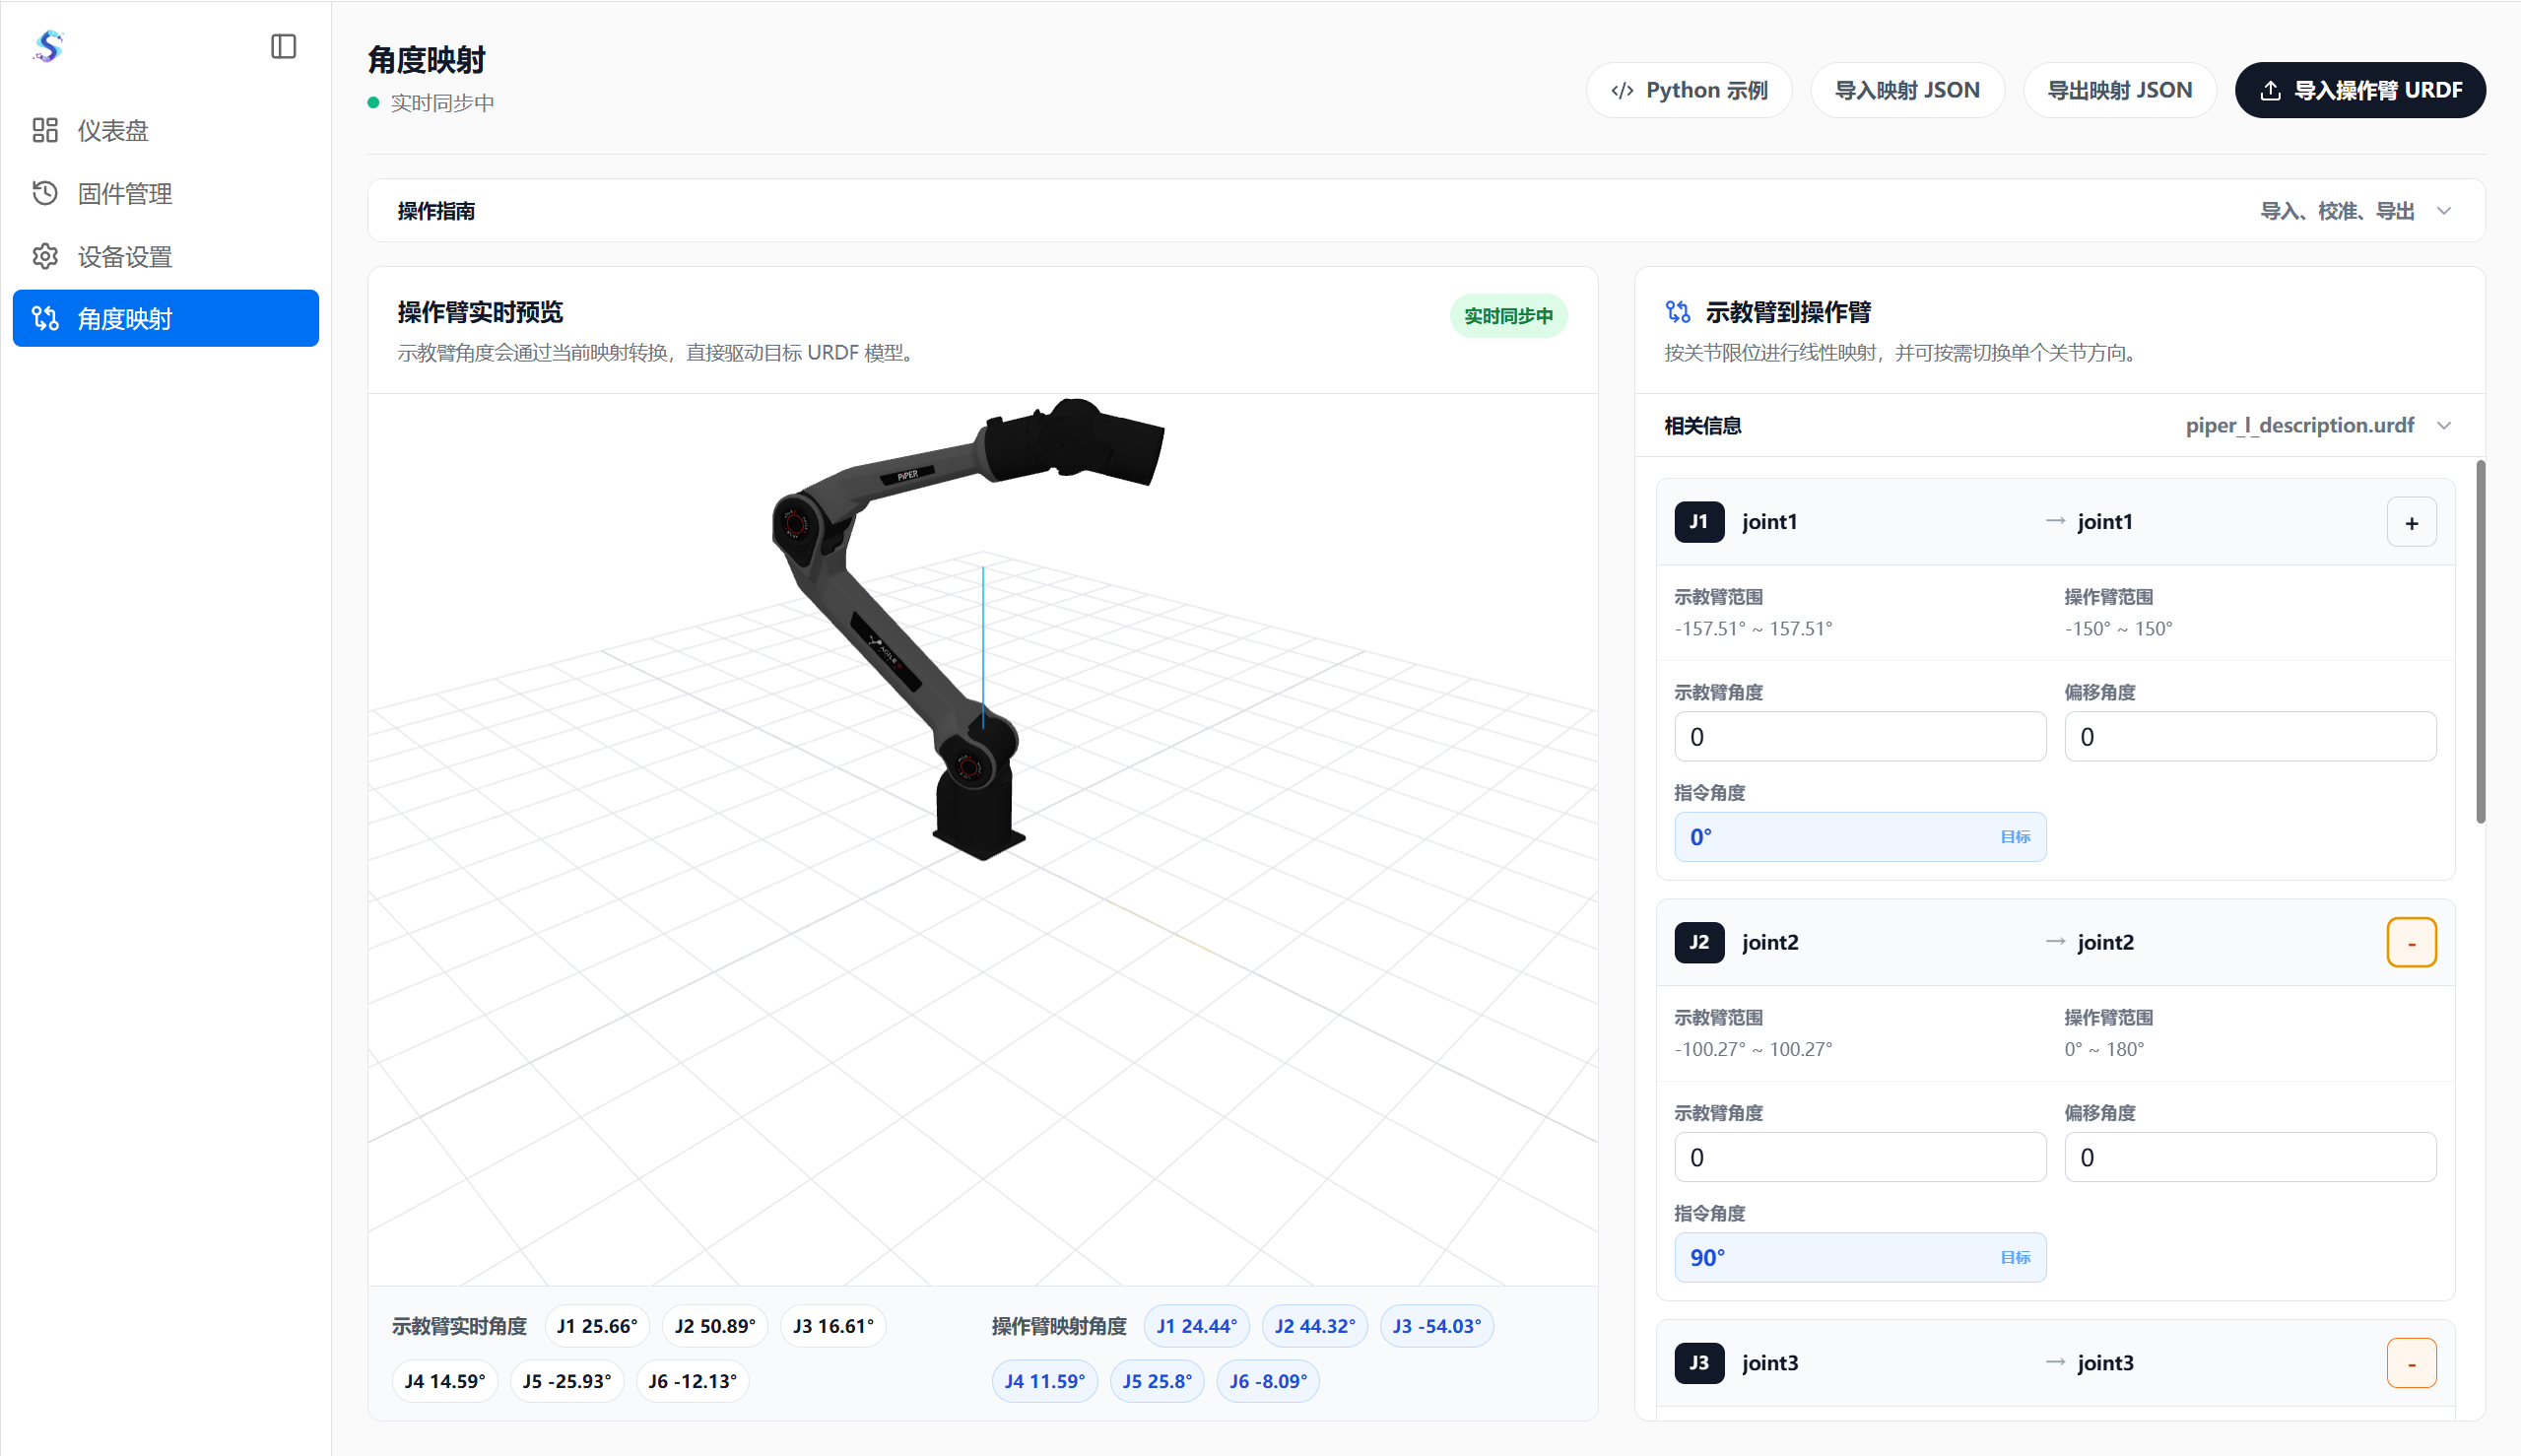
The recommended usage is as follows:
- On the dashboard, confirm the leader arm's connection status, device information, version information, and sync status.
- In the device settings, complete the zero-point setup, and if necessary, enter firmware management to check the version.
- On the angle-mapping page, view the leader arm's real-time angles and the follower arm's mapped angles.
- Adjust the mapping direction and offset angle per joint.
- Import or export the mapping JSON for reuse in subsequent teleoperation or SDK programs.
For the complete description, see Dual-Arm Control.
Remote Teleoperation: Leader-Arm Side and Follower-Arm Side
Synria Desk supports transmitting Alicia-DL leader-arm motion to the Alicia-D follower arm in real time and synchronizing the camera feed. Remote teleoperation is created as a channel on the leader-arm side, and the follower-arm side joins via the channel ID.
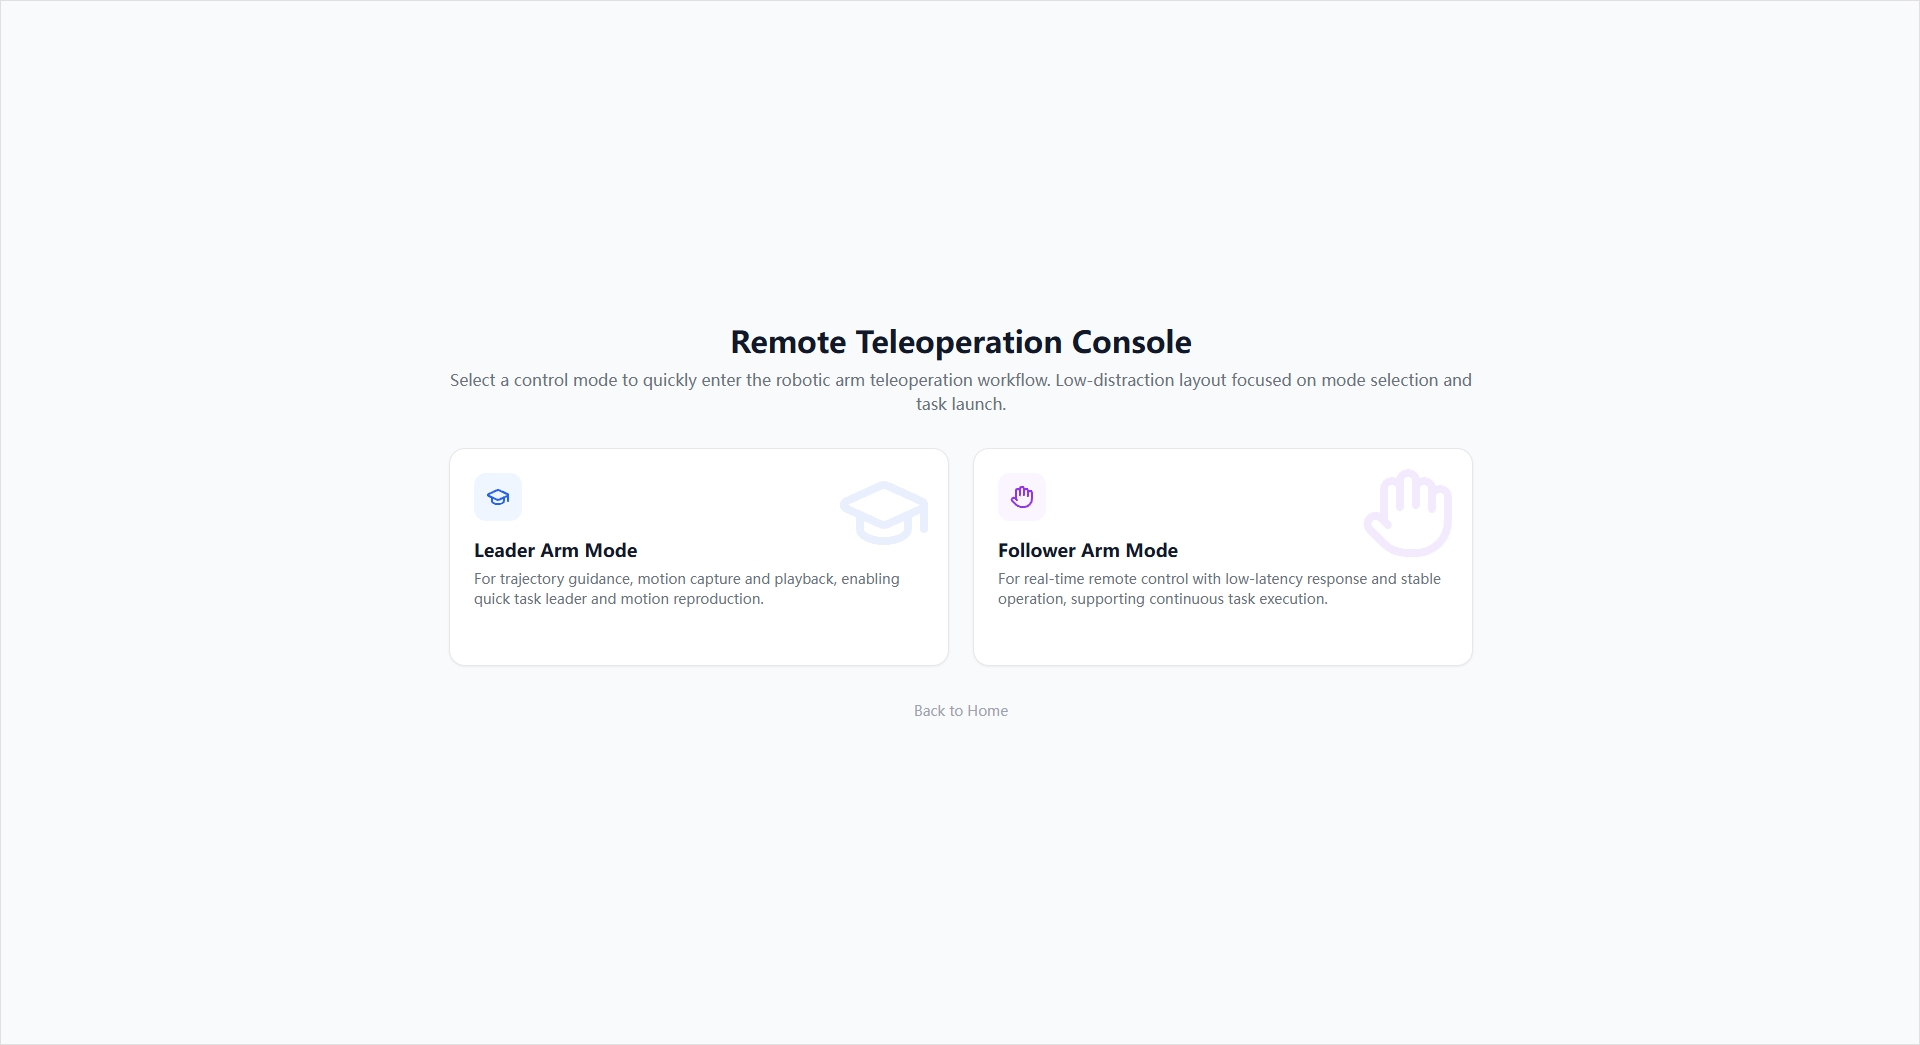
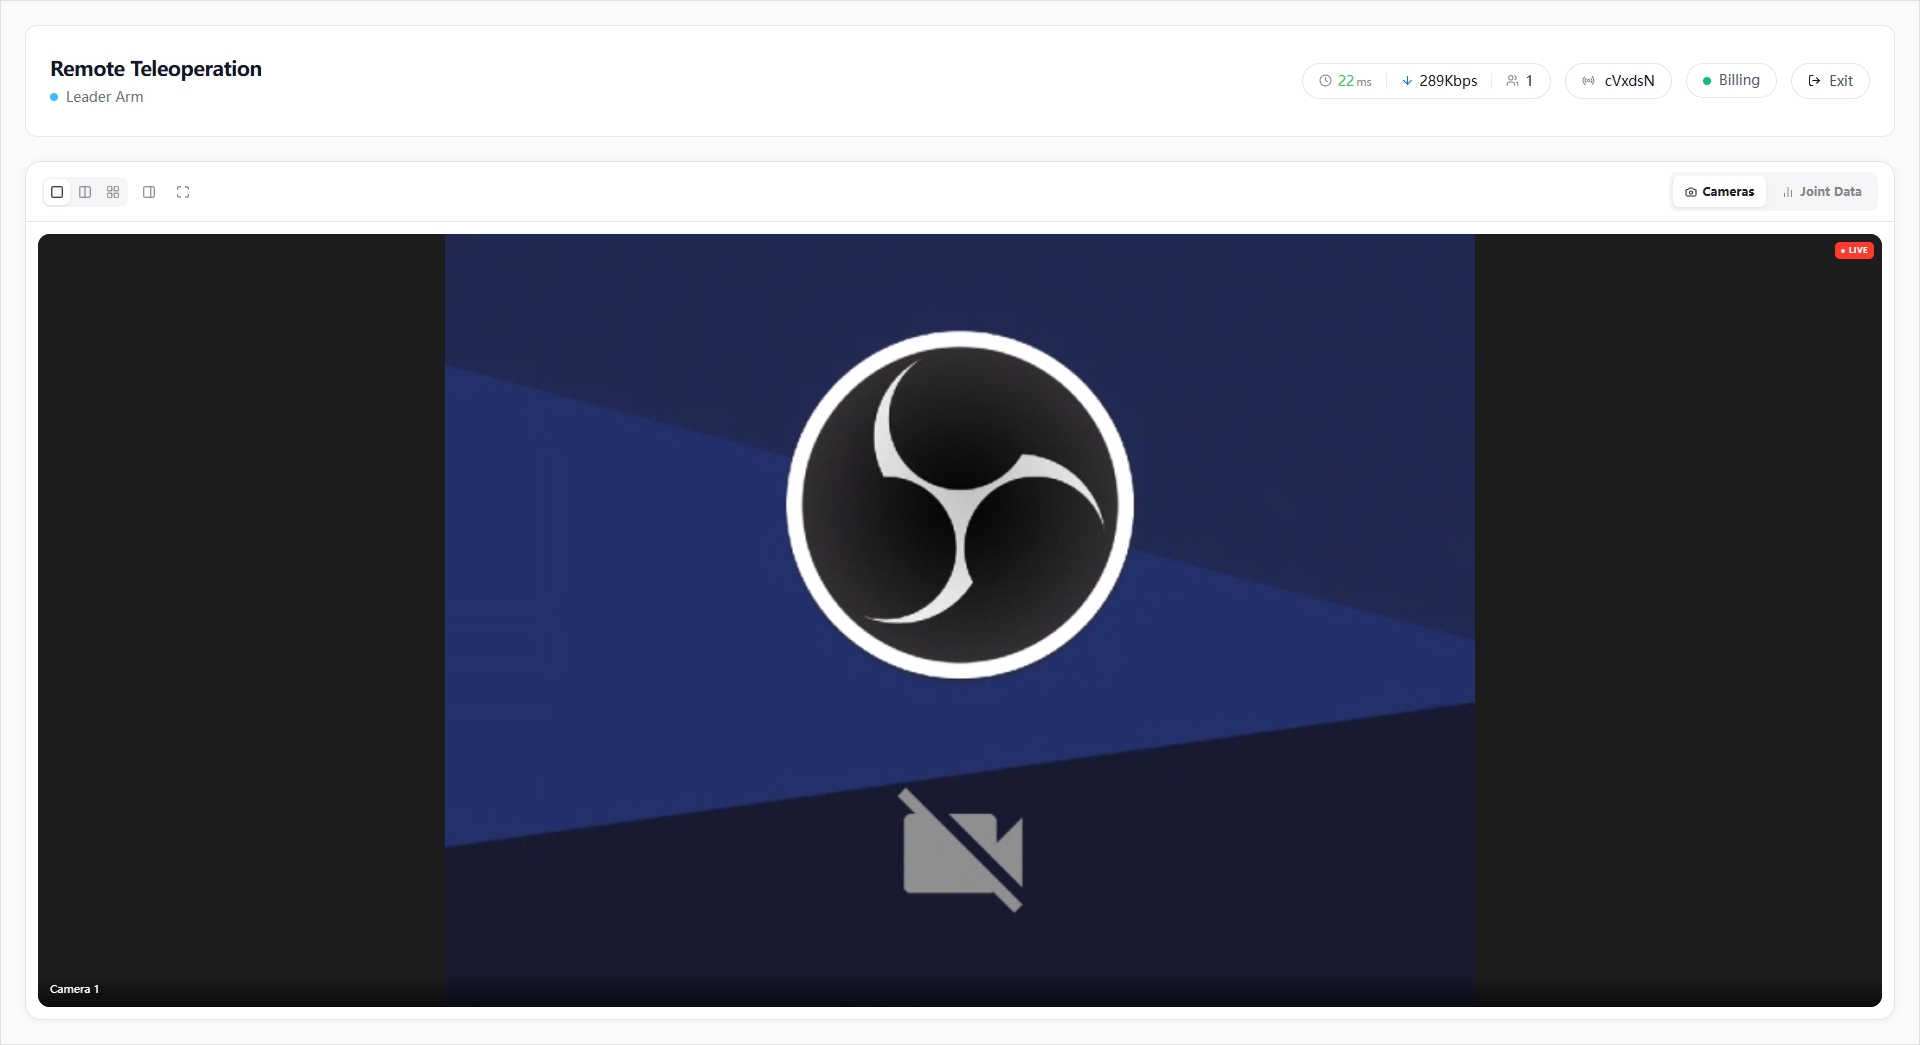
Typical workflow:
- On the leader-arm side, select the Alicia-DL, assign the left arm / right arm, and configure the camera scheme.
- The software creates a teleoperation channel and displays the channel ID, network RTT, downlink bandwidth, number of online participants, and billing status.
- On the follower-arm side, enter the channel ID and select the Alicia-D follower arm and the local camera.
- Once the session is established, the follower arm receives the leader arm's joint data in real time and executes it.
- During the session, view the left and right arms' joint angles, gripper status, and camera feed, and adjust the execution speed or disconnect if necessary.
For the complete description, see Remote Teleoperation.
Firmware Management and Device Settings
The firmware management page is used to check the current firmware version, view version history, and perform upgrades or rollbacks. The device settings page is used for zero-point setup, motion response mode adjustment, and Alicia-D torque-related control.
It is recommended to prioritize the desktop application in these scenarios:
- A new device is being onboarded for the first time, and you need to confirm the firmware, hardware, gripper, and temperature status.
- You need to reset to origin or set the zero point before debugging.
- You need to quickly verify the joints, gripper, trajectory, and teleoperation link.
- You need to import the mapping or trajectory configuration exported from the interface into a Python SDK program.
When you need automated control, batch experiments, or secondary development, use the Alicia-D Python SDK in combination.